Install Prometheus
Now, we are going to deploy a single instance of Prometheus. Normally, you would/should deploy multiple instances spread throughout the cluster. For example, one instance dedicated to monitor just Kubernetes API, the next dedicated to monitor nodes, and so on... As with many things in the Kubernetes world, there is no specific way things should look 🙂, so to save resources, we will deploy just one.
We should be back in our monitoring folder. Create new folder called prometheus, and in it create following files:
prometheus.yaml
apiVersion: monitoring.coreos.com/v1
kind: Prometheus
metadata:
  name: prometheus-persistant
  namespace: monitoring
spec:
  replicas: 1
  retention: 7d
  resources:
    requests:
      memory: 400Mi
  nodeSelector:
    node-type: worker
  securityContext:
    fsGroup: 2000
    runAsNonRoot: true
    runAsUser: 1000
  serviceAccountName: prometheus
  serviceMonitorSelector:
    matchExpressions:
    - key: name
      operator: In
      values:
      - longhorn-prometheus-servicemonitor
      - kube-state-metrics
      - node-exporter
      - kubelet
      - traefik
  storage:
    volumeClaimTemplate:
      spec:
        accessModes:
          - ReadWriteOnce
        storageClassName: longhorn
        resources:
          requests:
            storage: 20Gi
Interesting parts
retention - How long to keep data.
nodeSelector:
  node-type: worker
If you followed my setup, I set some tags for worker nodes and control planes. Above, I just say to prefer nodes with the tag: worker. I use this just because I didn't want to tax the control nodes more. If it does not matter to you where the Prometheus is running, remove these two lines.
  serviceMonitorSelector:
    matchExpressions:
    - key: name
      operator: In
      values:
      - longhorn-prometheus-servicemonitor
      - kube-state-metrics
      - node-exporter
      - kubelet
      - traefik
Above are the Service Monitors we created. This part tells Prometheus to go and take data from them. If you add more or less, edit this part.
storage: We will just tell it what provisioner to use, and how many GB to provision. Our Prometheus Operator will take care of mounting and assigning the storage for persistent data. Make sure that longhorn is default (I mentioned how to make it the default storage provider in longhorn section).
I will keep data for 7 days (I didn't know how much data it will generate at the time), but logging for a full 7 days, it produced 6.62 GB in my case, so 20 GB is a safe bet. So, we create a physical volume claim from our Longhorn (man, I love Longhorn, so easy to work with).
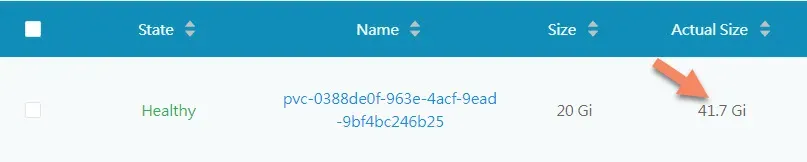
Update: I now have a lot of services for CI/CD, Monitoring, OpenFaas, Redis, Portainer and so on and the Prometheus persistent storage grow to solid 41.7GB. So 20GB was ok at the start, but with additional services you need to add more. I will be adding 3x 512GB SSDs to the cluster and carve about 30GB for it there to save writes to the USB disks.
prometheus-service-ext.yaml
apiVersion: v1
kind: Service
metadata:
  name: prometheus-external
  namespace: monitoring
spec:
  selector:
    prometheus: prometheus-persistant
  type: LoadBalancer
  ports:
    - name: web
      protocol: TCP
      port: 9090
      targetPort: web
  loadBalancerIP: 192.168.0.205
If you followed my guides, you know I like to keep most of the services on their own IP, so above I told MetalLB to give Prometheus instance IP 192.168.0.205.
prometheus-service-local.yaml
apiVersion: v1
kind: Service
metadata:
  name: prometheus
  namespace: monitoring
spec:
  ports:
  - name: web
    port: 9090
    targetPort: web
  selector:
    prometheus: prometheus-persistant
  sessionAffinity: ClientIP
Make the Prometheus also available locally in a cluster under the name prometheus, and a port called web.
prometeus-serviceacount.yaml
apiVersion: v1
kind: ServiceAccount
metadata:
  name: prometheus
  namespace: monitoring
This is just a service account for Prometheus; this provides our pod with an "identity". Later below, we add permissions for this account to look into other namespaces, and collect data etc...
prometeus-rbac-role-binding.yaml
apiVersion: rbac.authorization.k8s.io/v1
kind: ClusterRoleBinding
metadata:
  name: prometheus
roleRef:
  apiGroup: rbac.authorization.k8s.io
  kind: ClusterRole
  name: prometheus
subjects:
- kind: ServiceAccount
  name: prometheus
  namespace: monitoring
prometeus-rbac-clusterrole.yaml
apiVersion: rbac.authorization.k8s.io/v1
kind: ClusterRole
metadata:
  name: prometheus
  namespace: monitoring
rules:
- apiGroups: [""]
  resources:
  - nodes
  - services
  - endpoints
  - pods
  - nodes/metrics
  verbs: ["get", "list", "watch"]
- apiGroups: [""]
  resources:
  - configmaps
  verbs: ["get"]
- nonResourceURLs: ["/metrics"]
  verbs: ["get"]
RBAC gives permissions to access various network resources in clusters, more here: RBAC
Jump out of the prometheus folder, and apply it to Cluster.
cd ..
kubectl apply -f prometheus/
Check if Prometheus deployed. I have called my deployment prometheus-persistant, but didn't know that Prometheus Operator adds prometheus- before and -(number) after.
root@control01:~/monitoring/prometheus# kubectl get pods -n monitoring
NAME                                   READY   STATUS    RESTARTS   AGE
.
.
.
prometheus-prometheus-persistant-0     2/2     Running   0          12d
UI
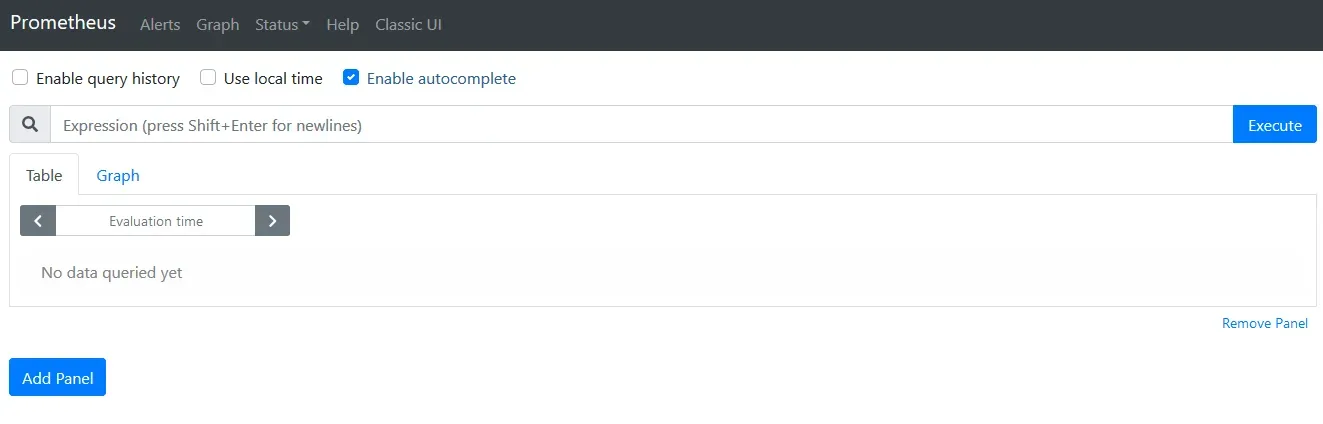
You should now be able to connect via a browser to the IP of Prometheus, in my case, 192.168.0.205:9090, and see something like this:
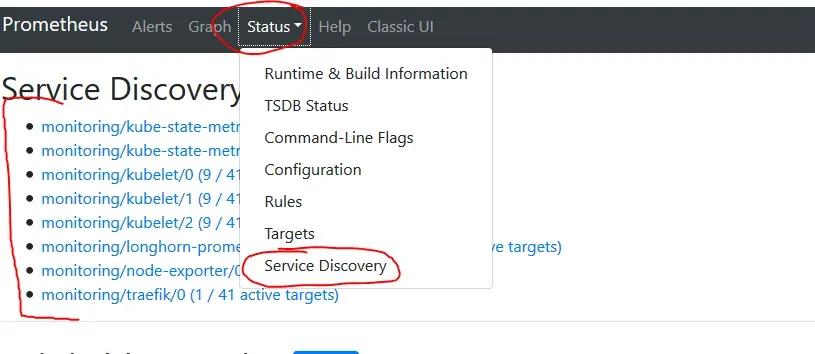
Also look into Status -> Targets. There all metrics should be UP. It can take a few minutes before they are scraped but certainly no longer than 5min. I had configured my permissions wrongly, and got a 403 error for Kubelet. When I fixed it, it got back to UP mode within a minute.

First Graphs
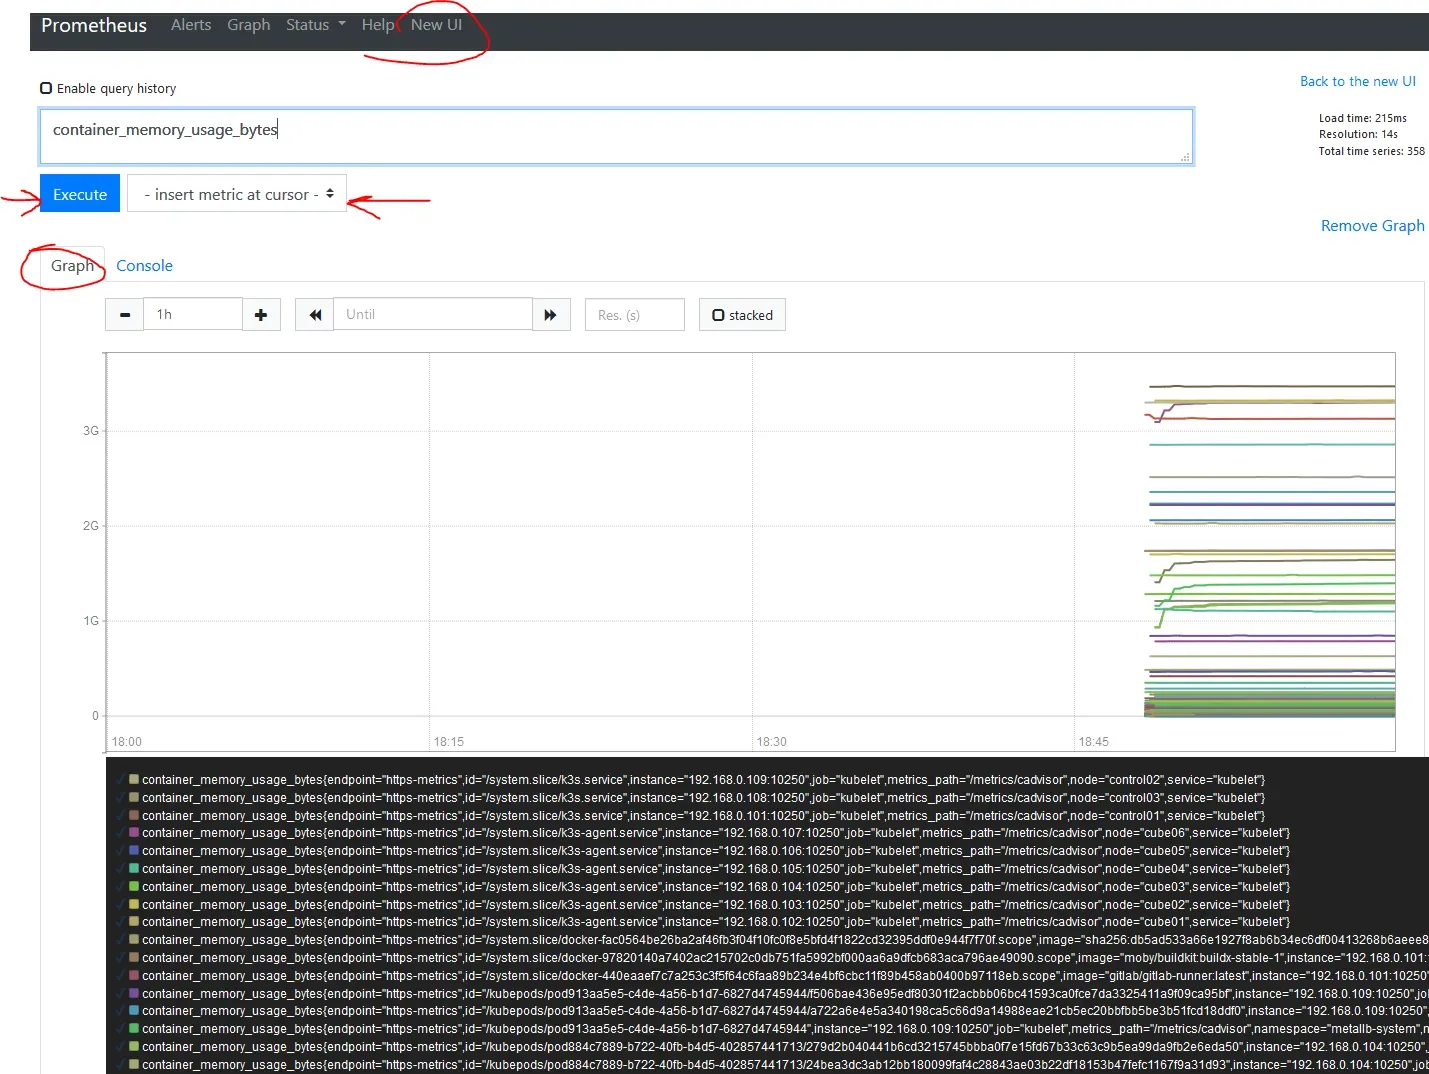
For our graphing purposes we will use Grafana, but you can also get graphs in Prometheus.
It is easiest to switch to Classic UI, and under the top input box, right next to Execute, is a drop-down menu where you can choose any of the metrics. Next, hit execute, and you should have some data.
We are almost there, the last step is Grafana for some kick ass dashboards. Grafana
Did it work for you? Take a break, drink a good beverage of your choice, and if you think I was helpful, maybe get a drink for me as well 🙂.