LoraWan Gateway

The main star of this project is my LoraWan Gateway. I must say I bought the hardware like 3+ years ago and simply not had time to do anything with it.
What's in it?
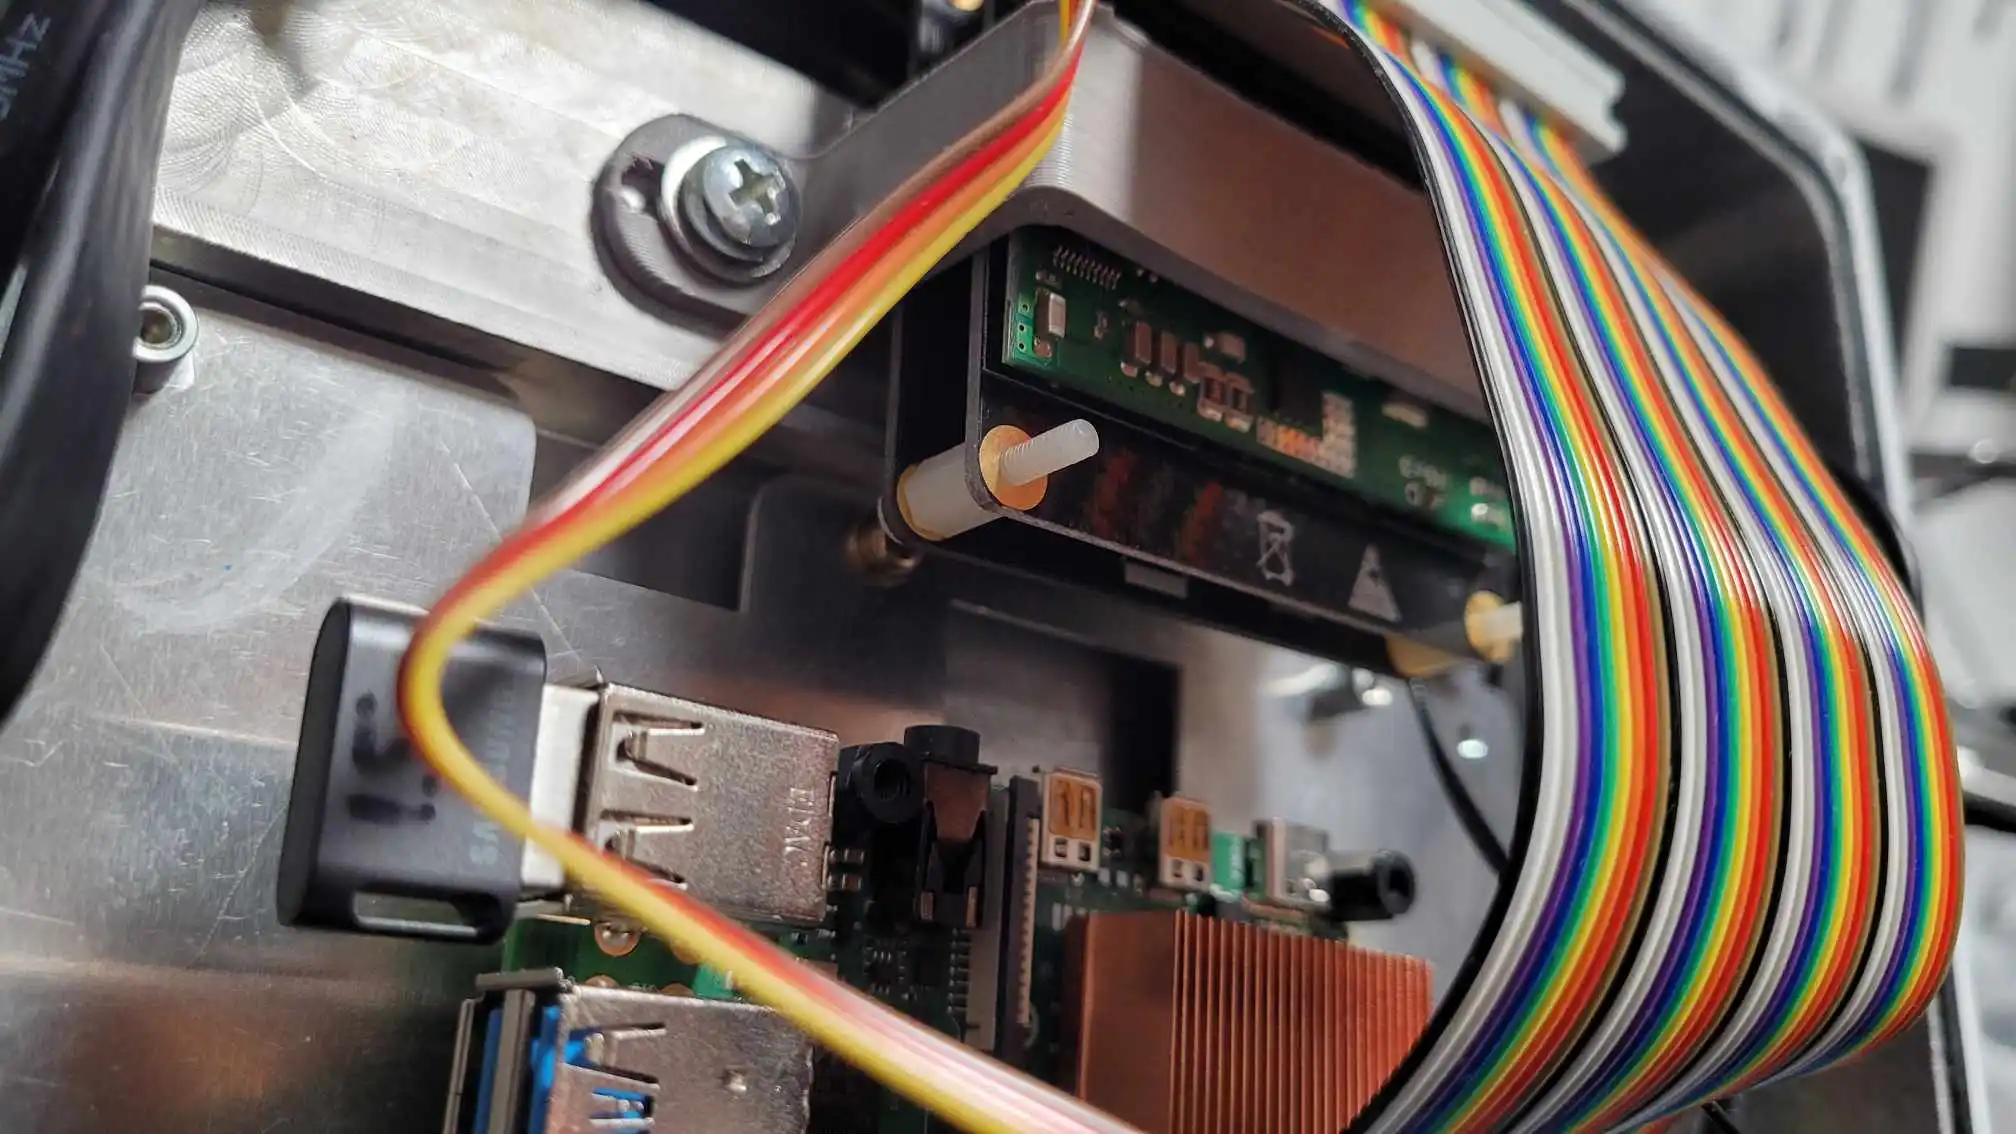
- Raspberry Pi 4B (The brain of the operation)
- Raspberry Pi 4B PoE HAT
- USB for OS, going with DietPi
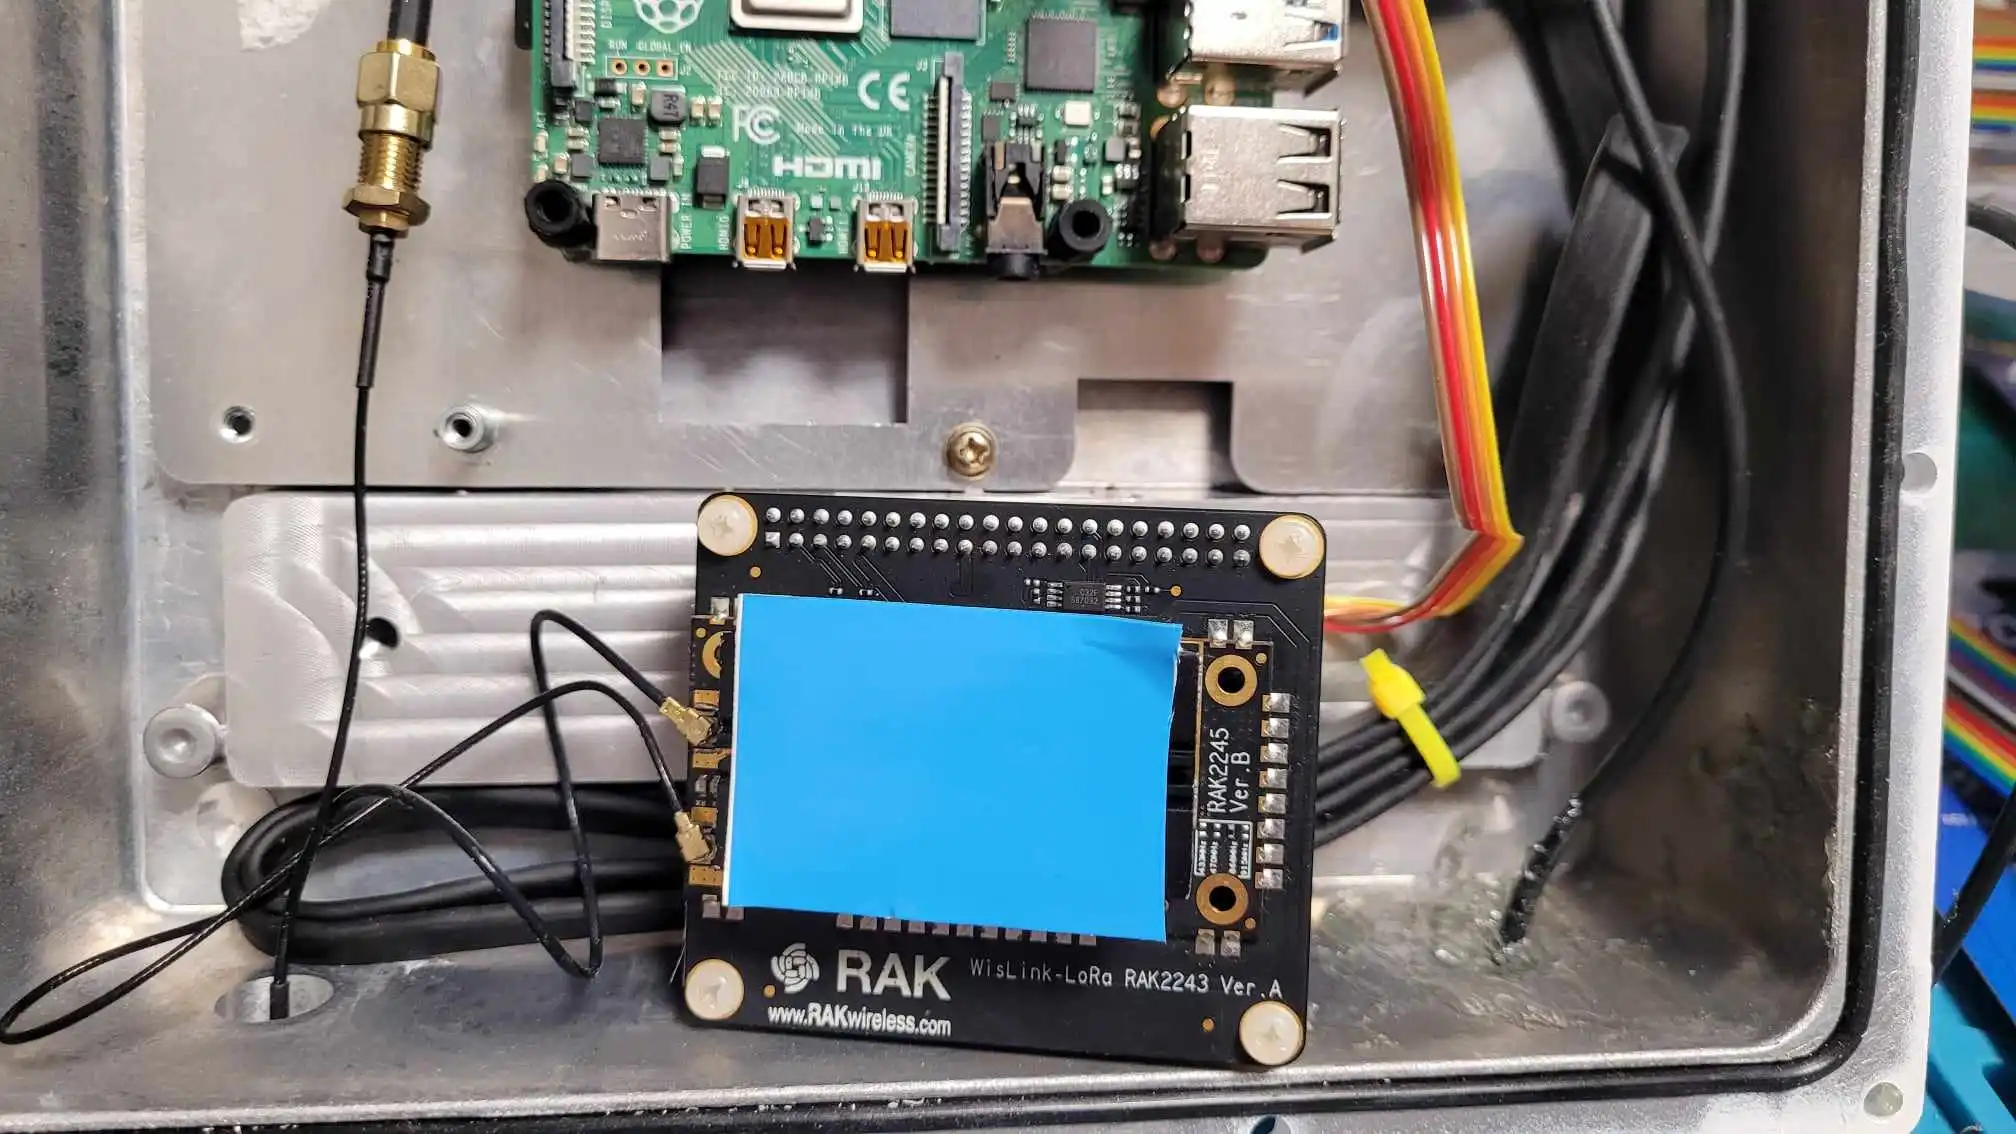
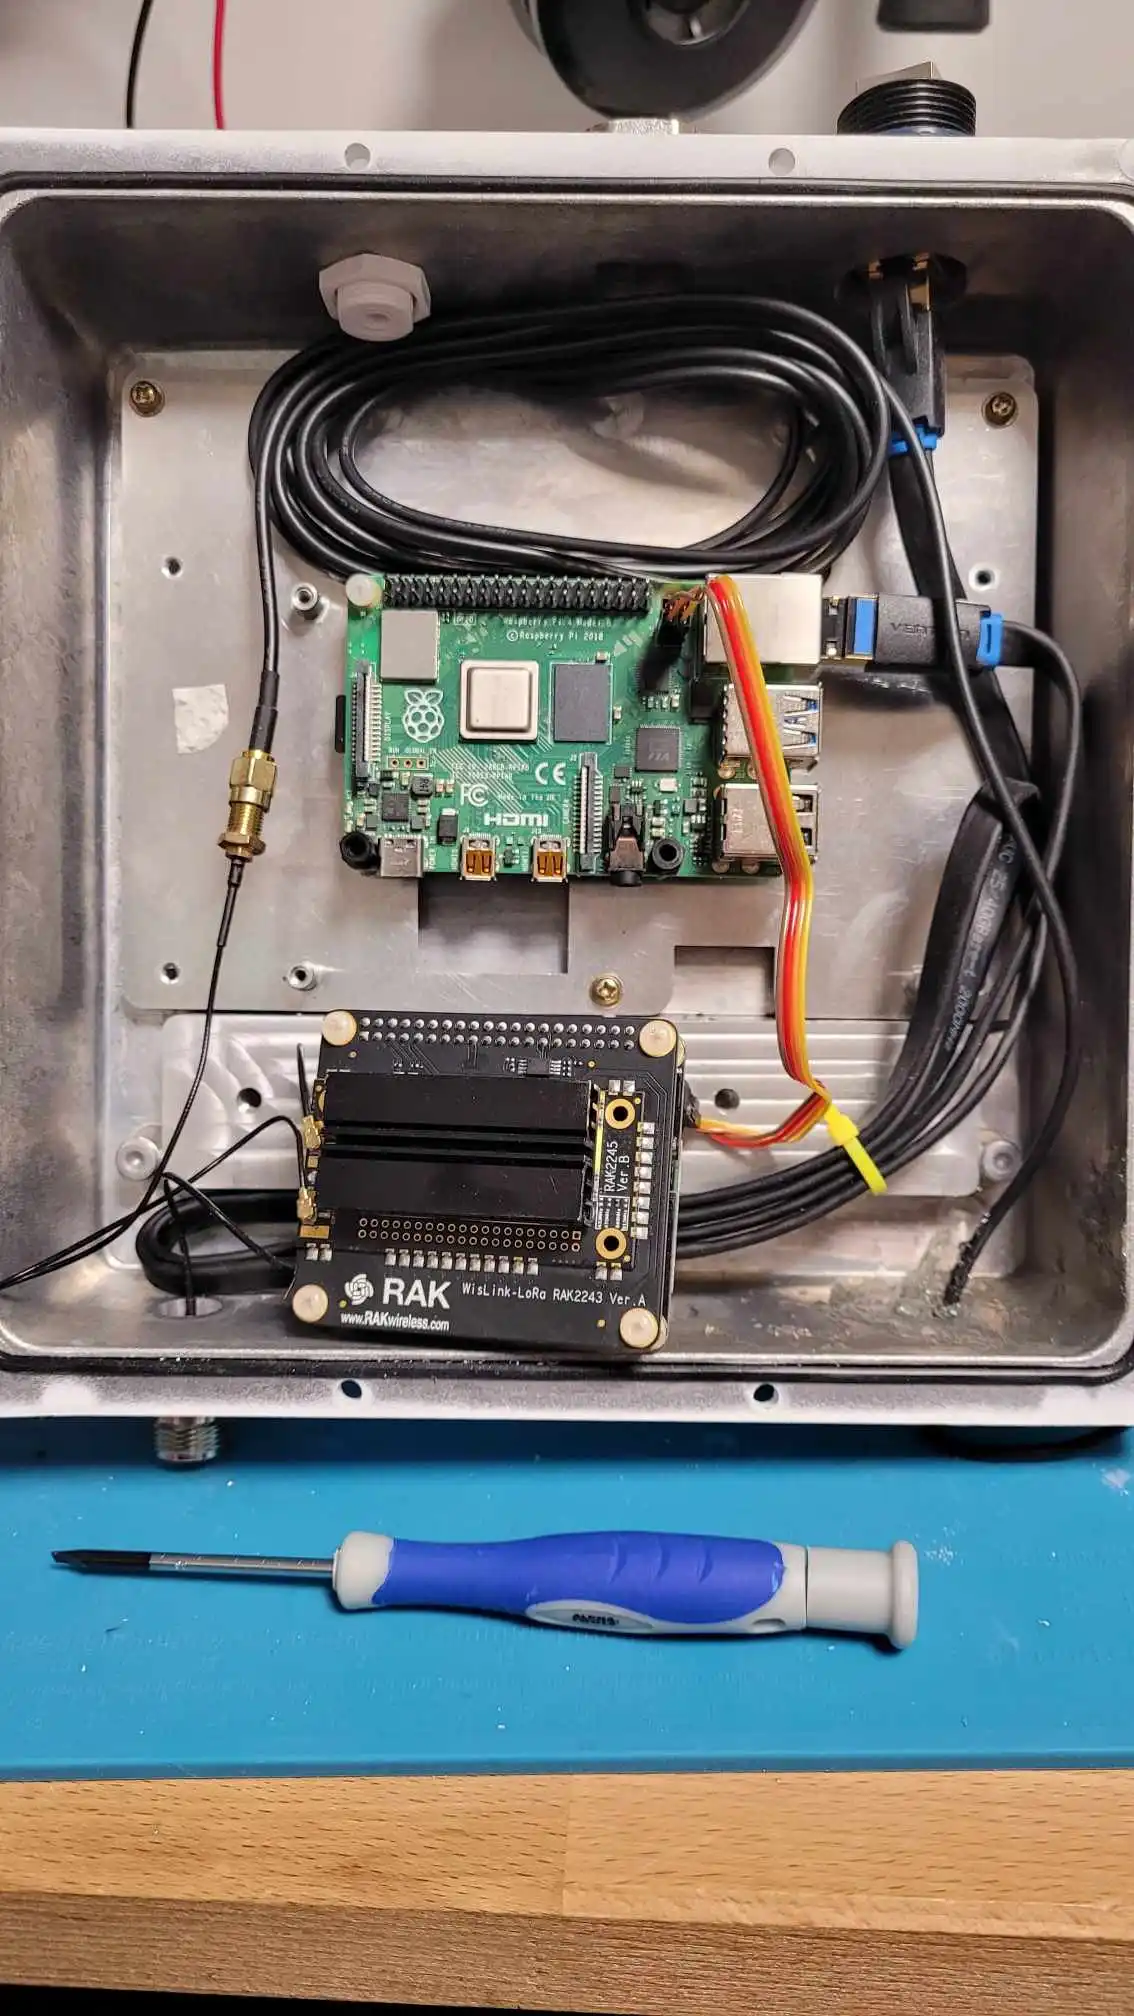
- RAK2243 HAT / RAK2245 Lora Concentrator Module
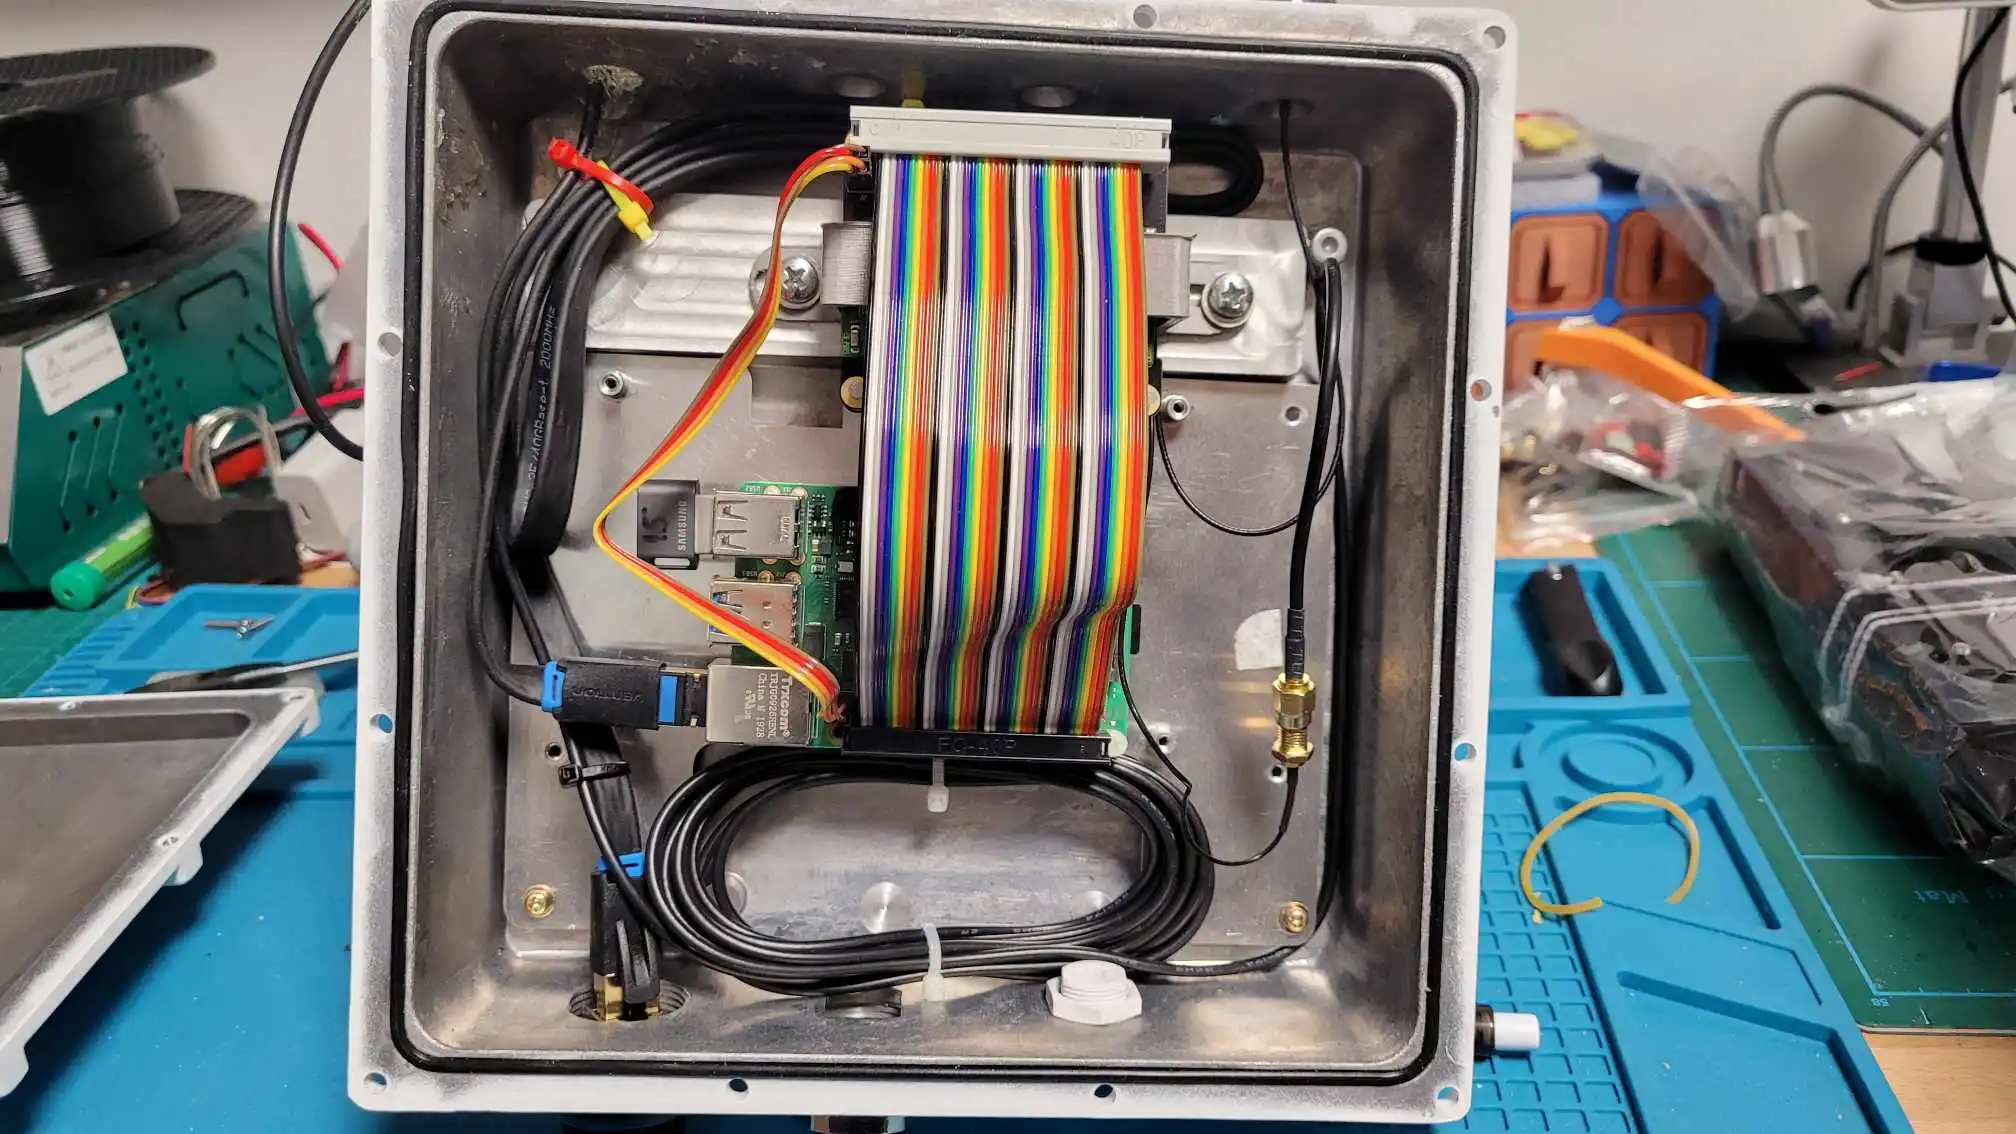
- External case ( To be fair its not made for the HW that's in it )
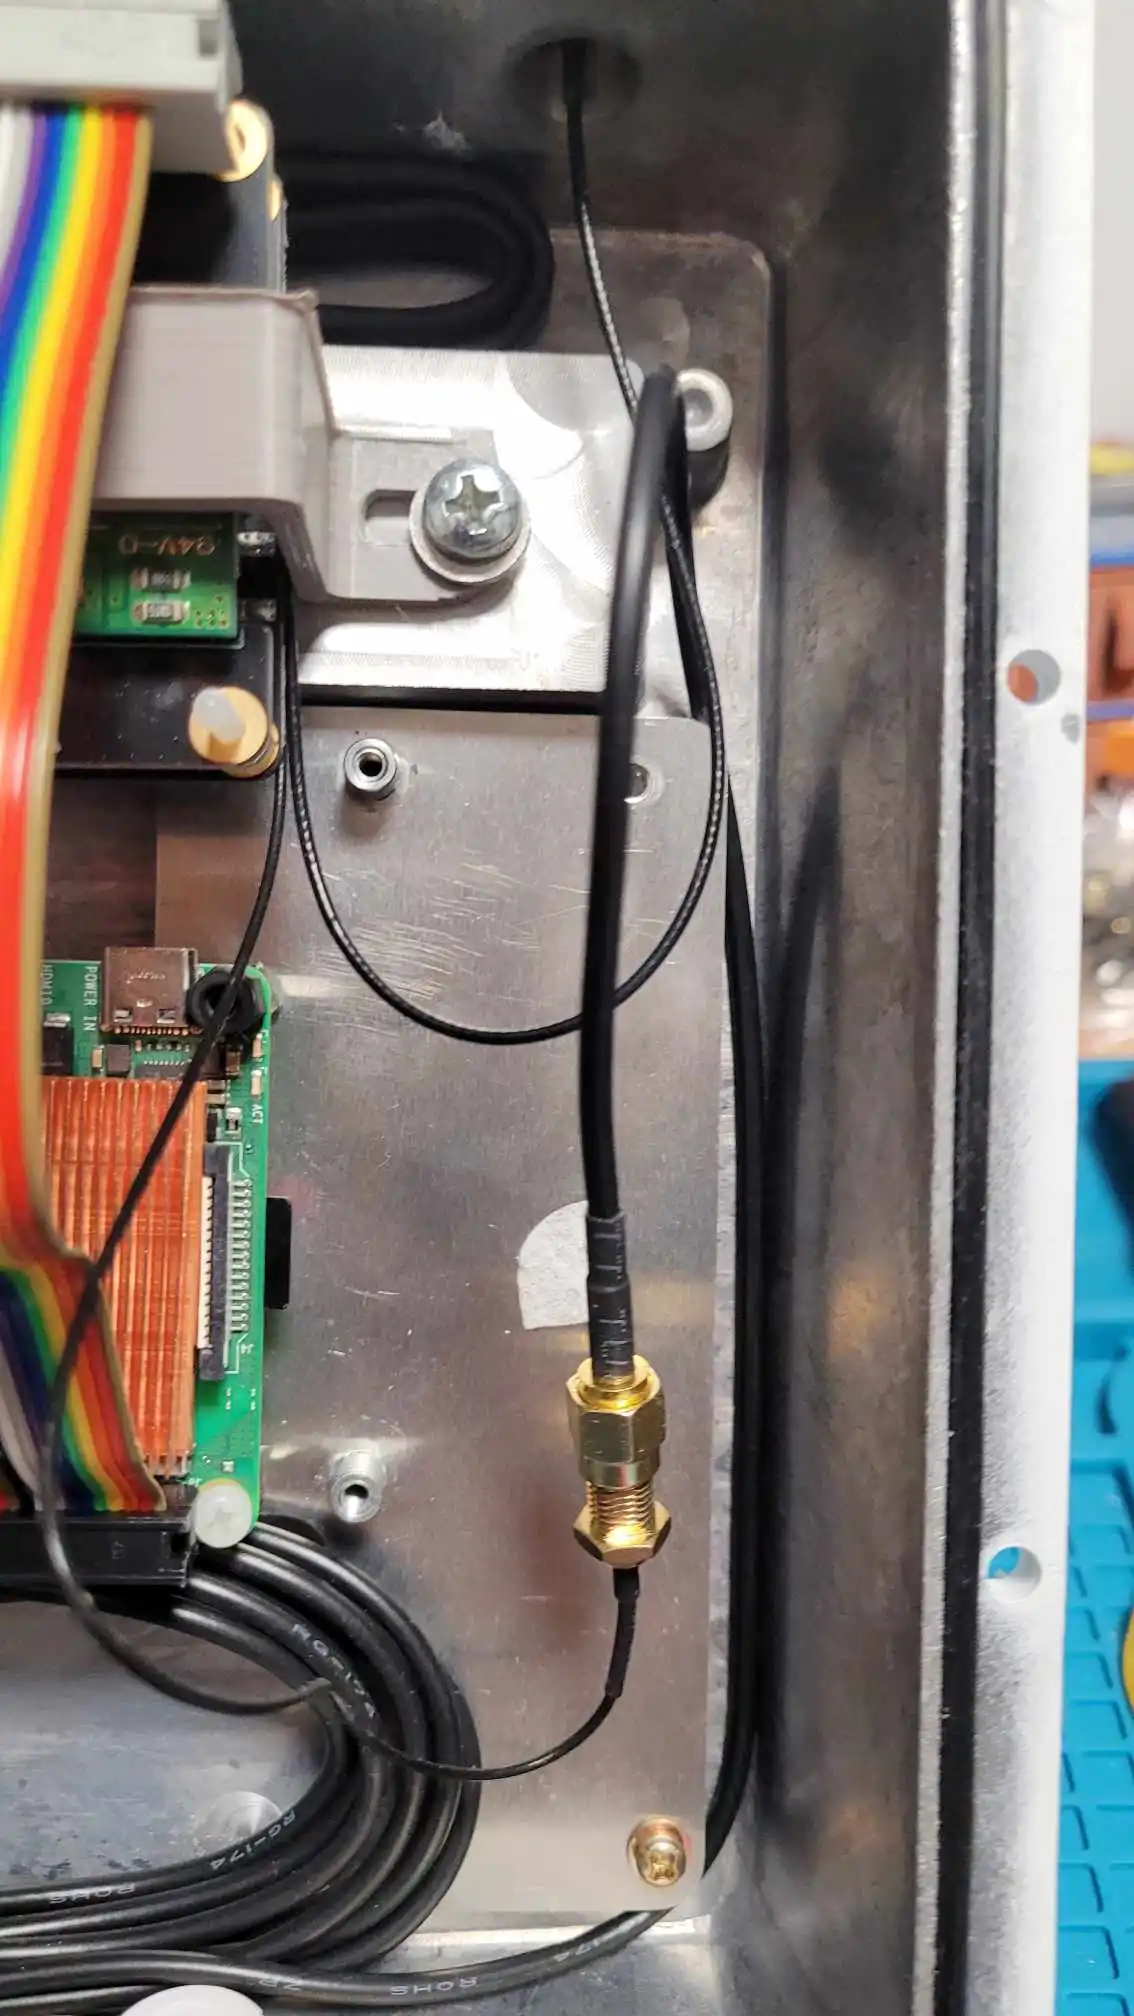
- iPEX to RP-SMA Connector (For GPS)
- iPEX to N-Type LoRa/LTE Antenna Connector
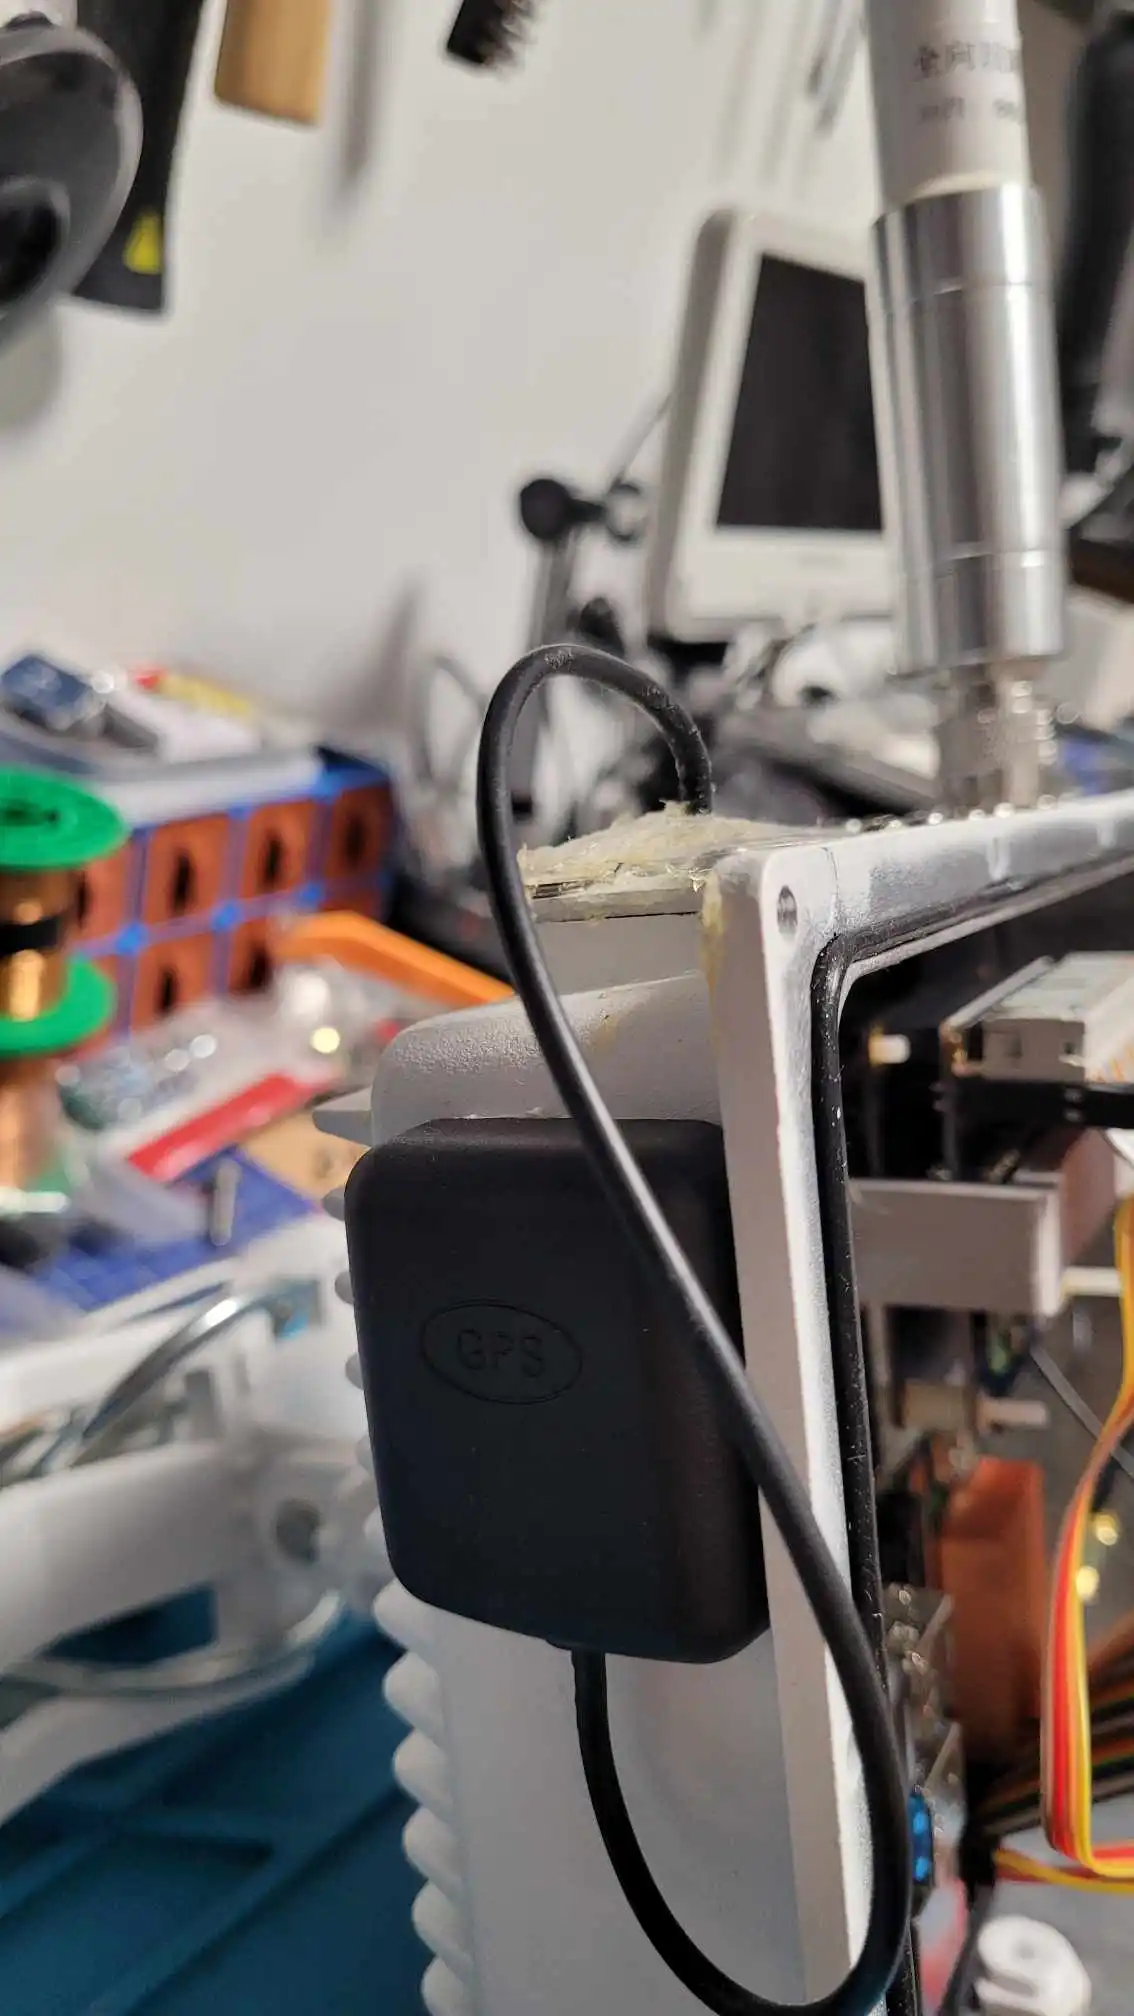
- GPS Antenna with SMA connector (general GPS antenna)
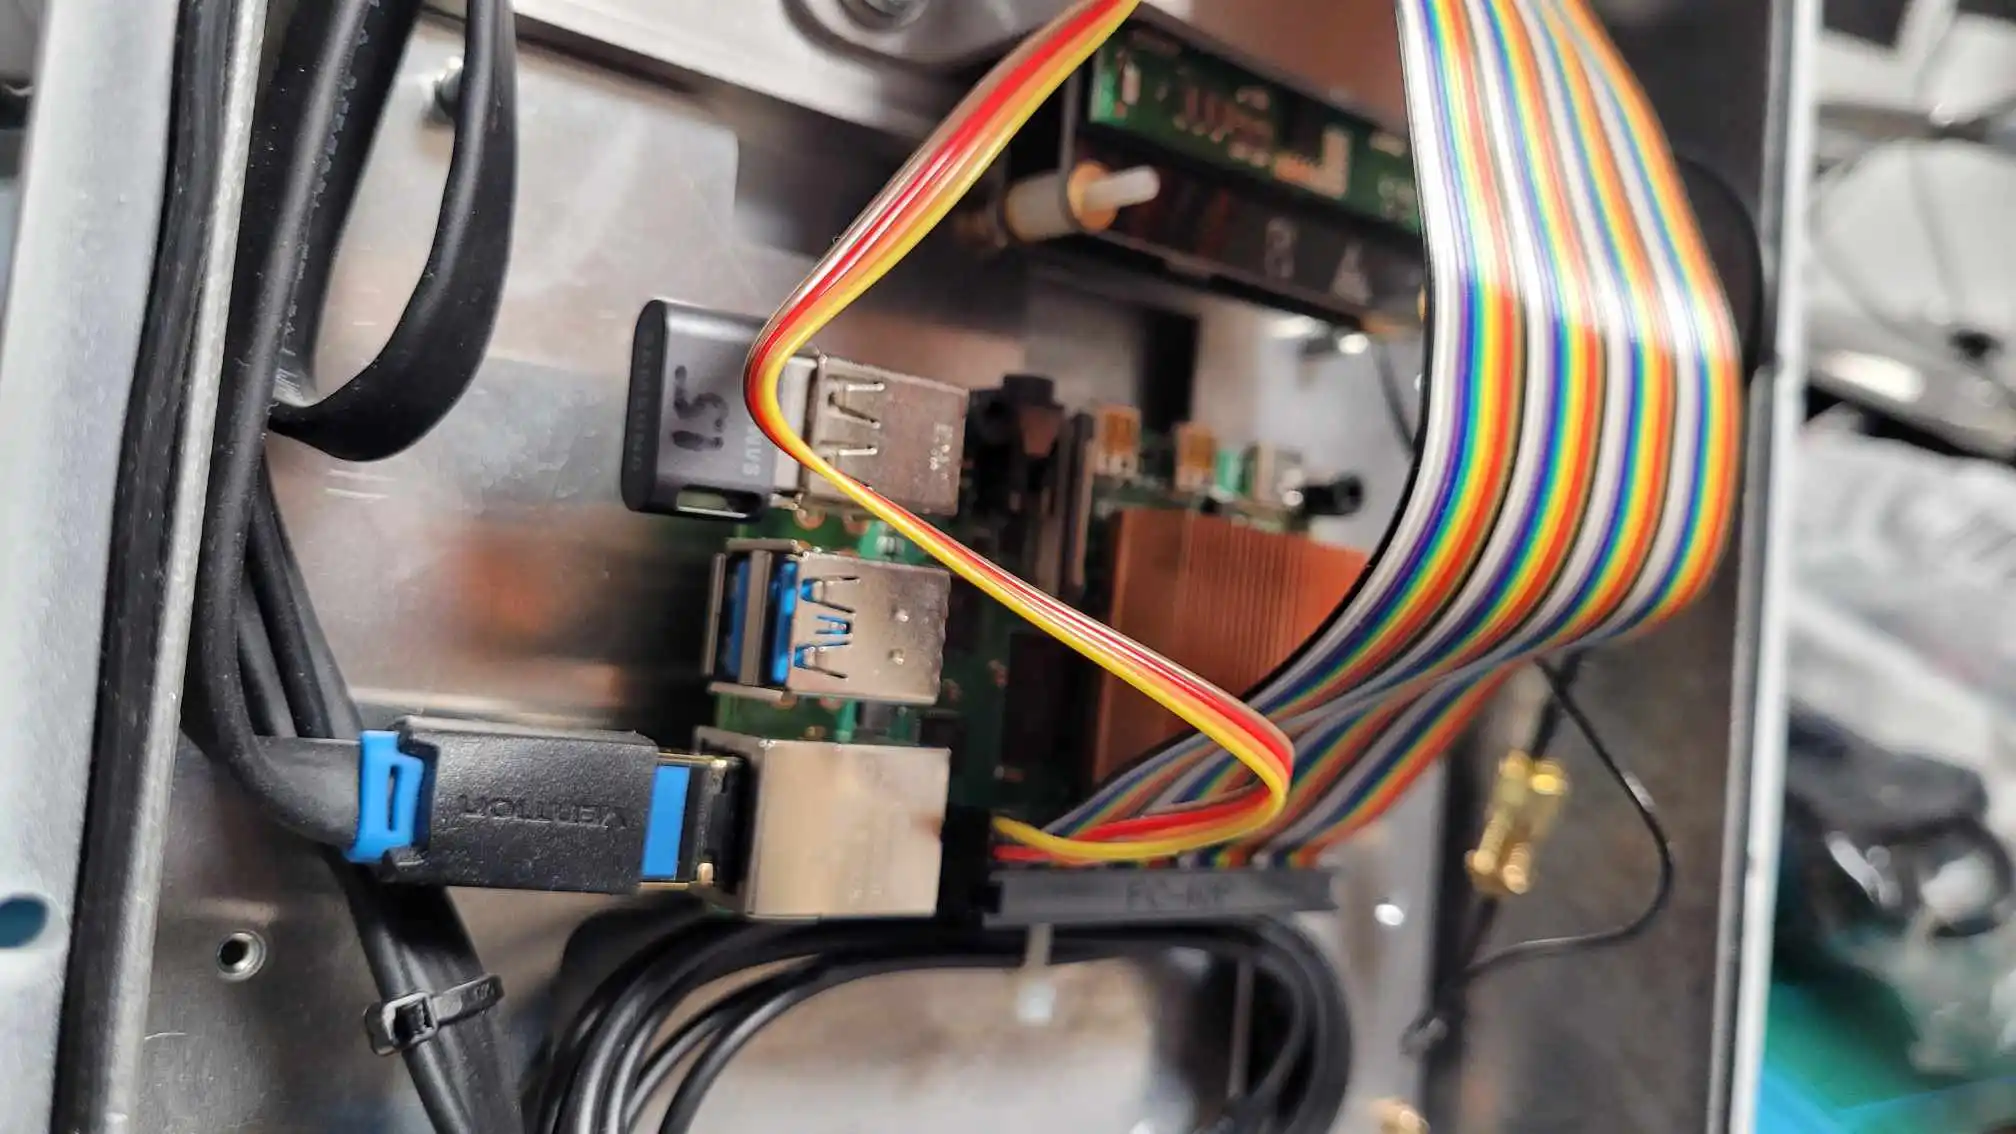
- Custom made ribbon cable ( easy to make, just google it )
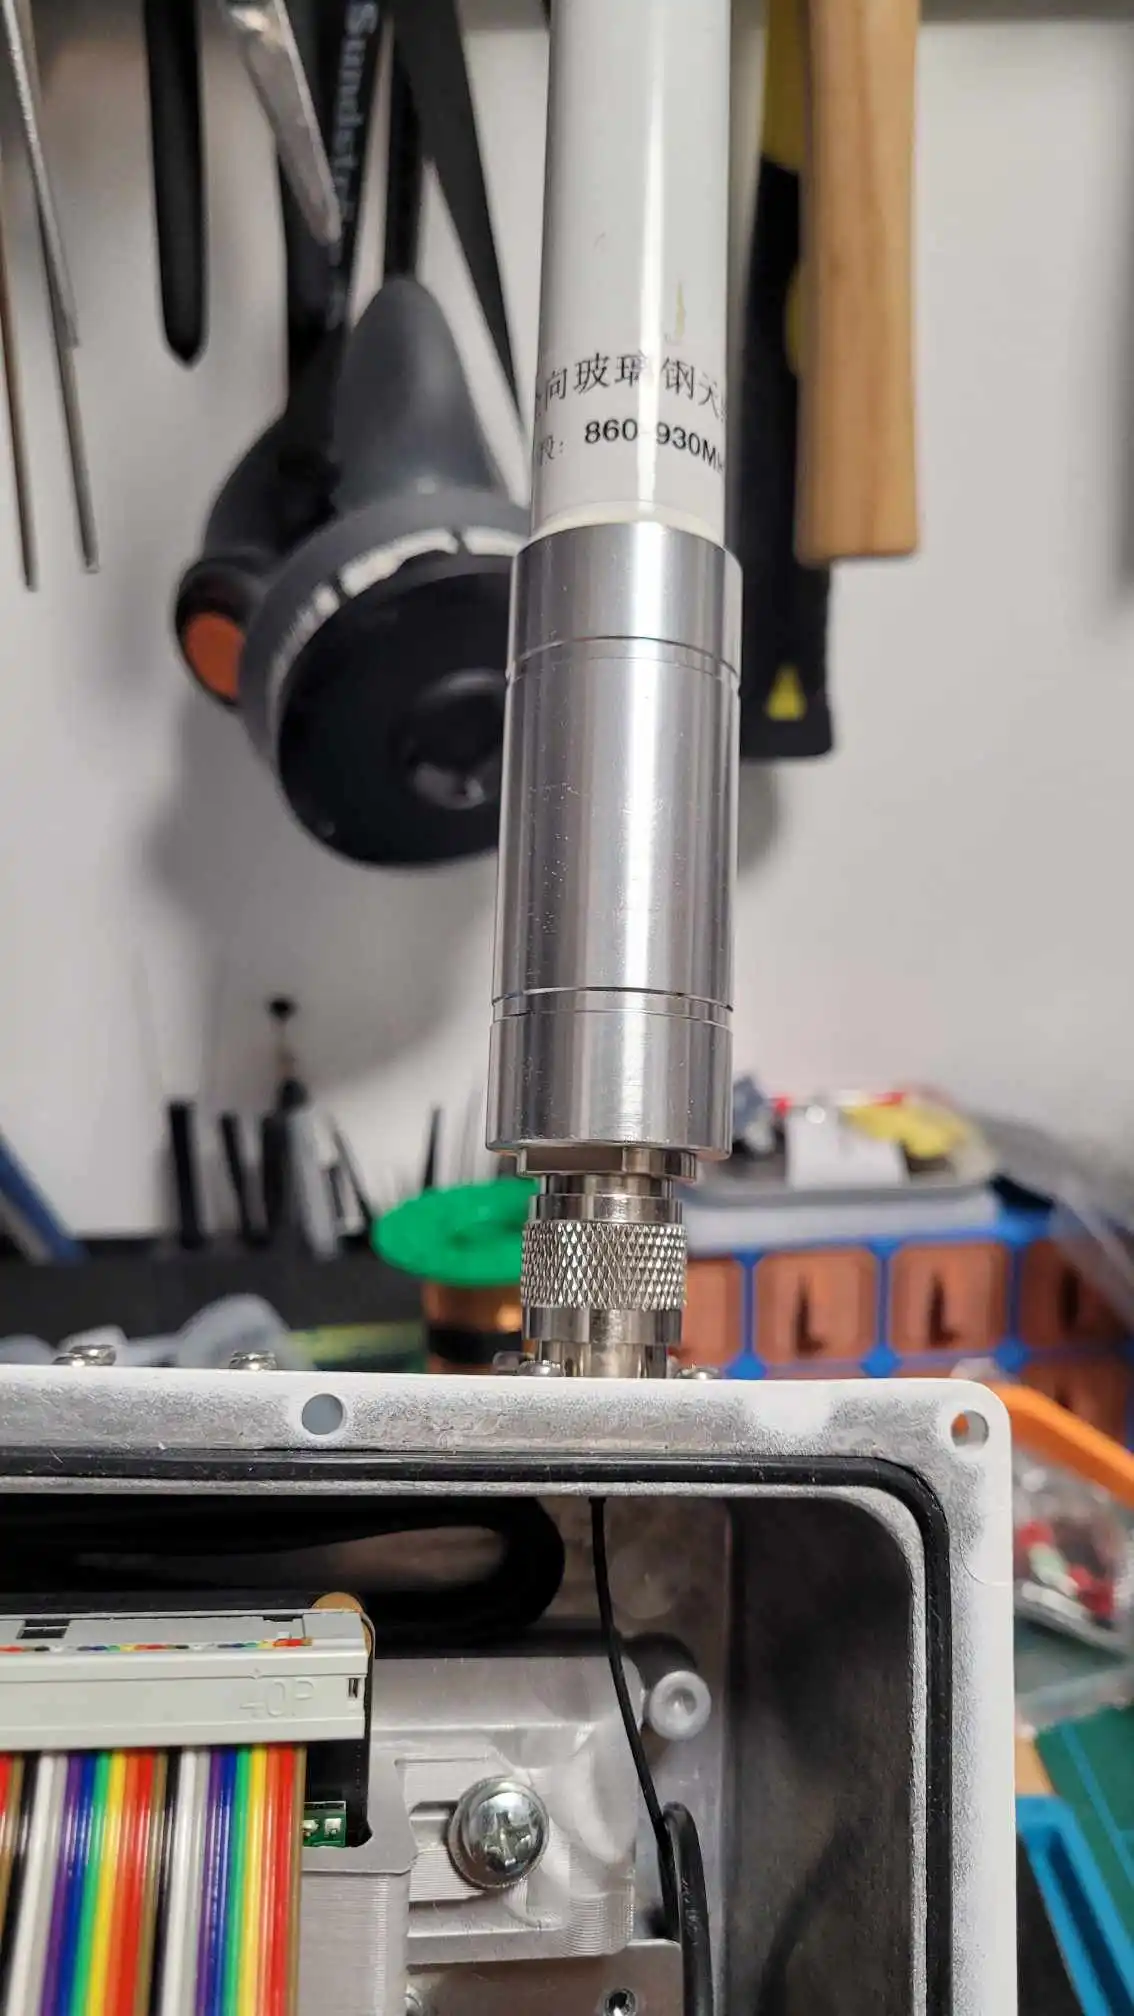
- LoraWan Antenna
- Thermal Adhesive Tape ( To stick metal block on Rpis CPU and the Lora module to the casing )
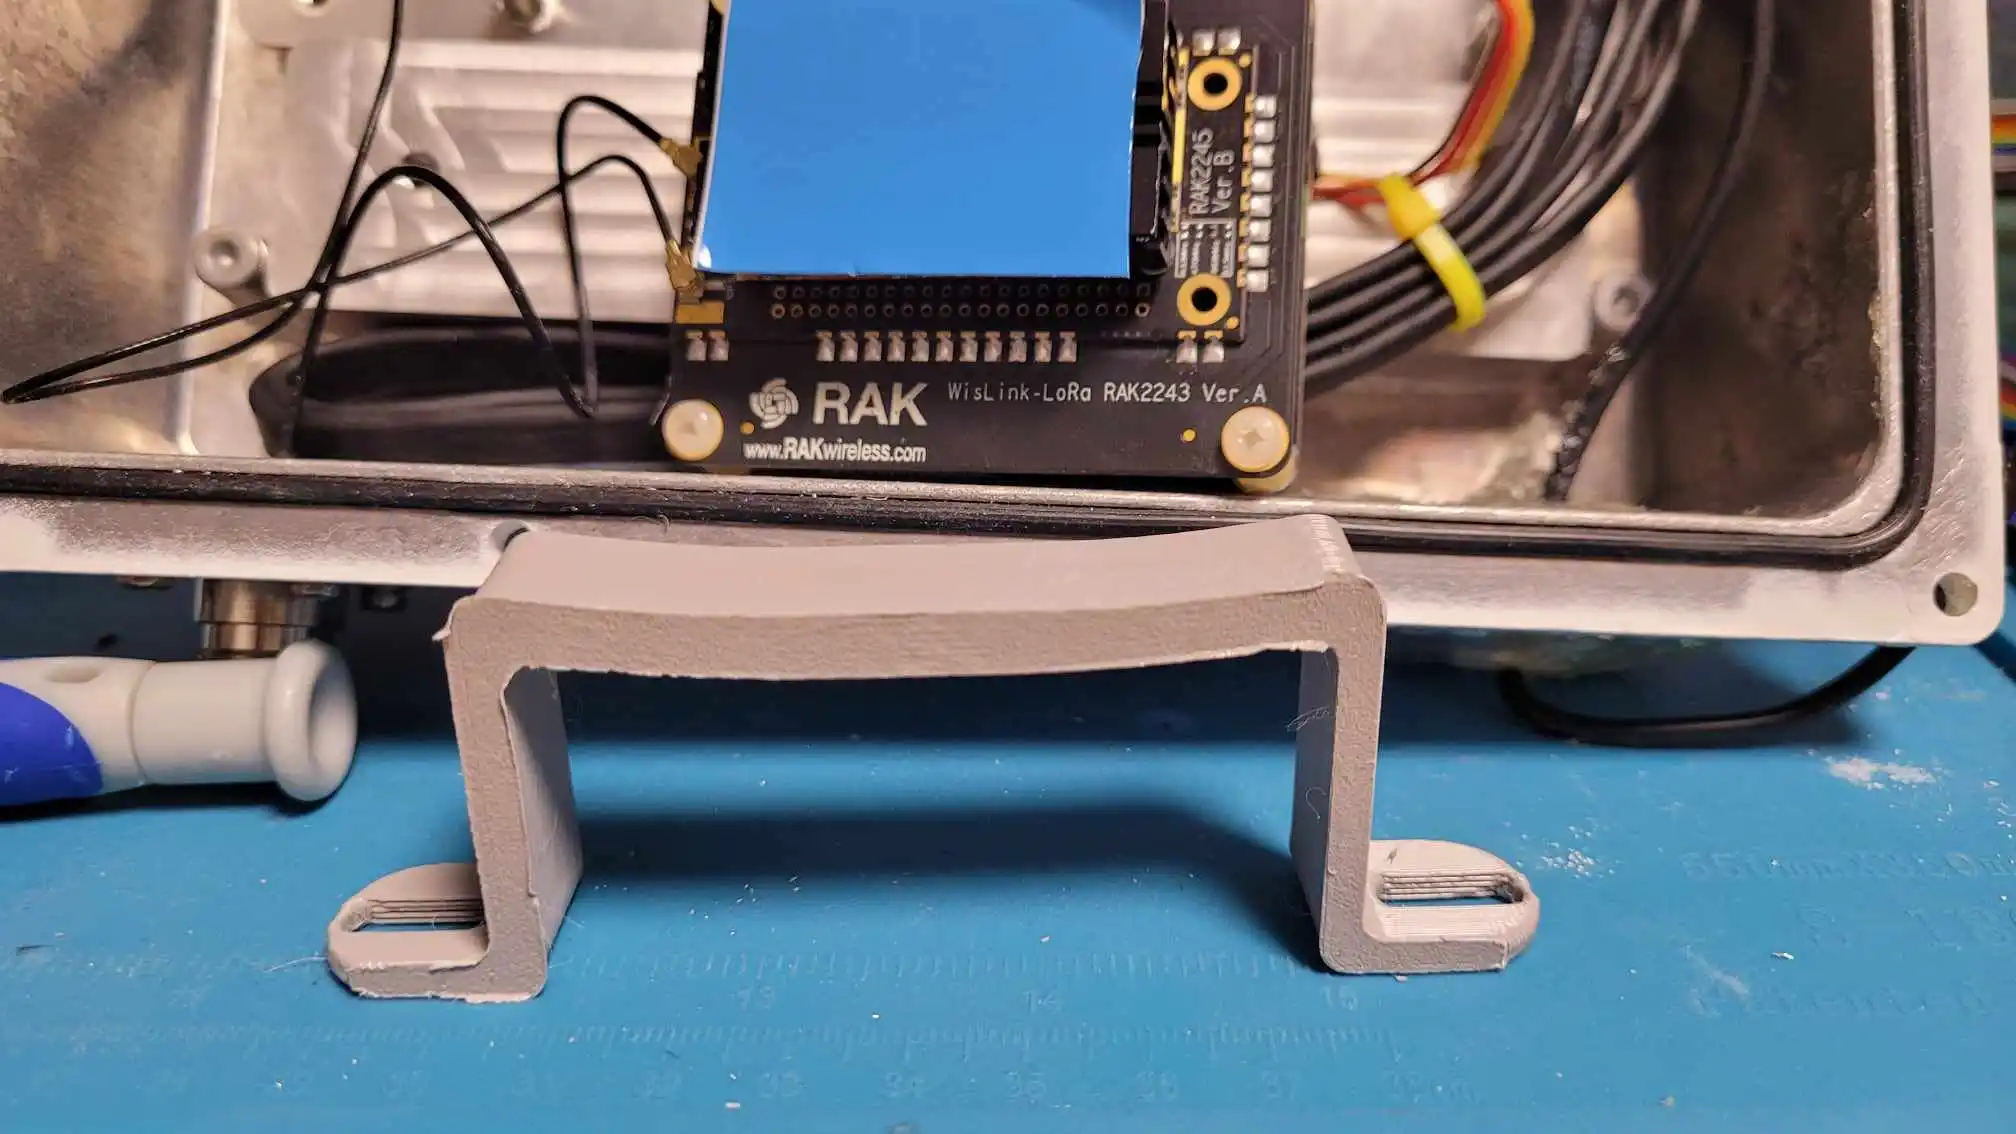
- Some 3D printed bracket (printed in Prusa PC blend so it does not melt), and other bits and bobs
I have tapped the metal block and used thermal conductive tape to stick the cooler block of the Lora module to it, to at least try to "vent" some heat out through casing, because the Raspberry only have massive coper cooler on it. The issue I'm worried about is, that the box is hermetically sealed and it will heat the air inside and can we have thermal runaway ? I have no idea, I will report once its on the roof in direct sunlight. It runs just fine, closed, in my room so far.
I must say that RAK2245 Pi HAT Module is the only one that kind of just worked. I have tried to get this thing working: waveshare SX1302 LoRaWAN Gateway HAT
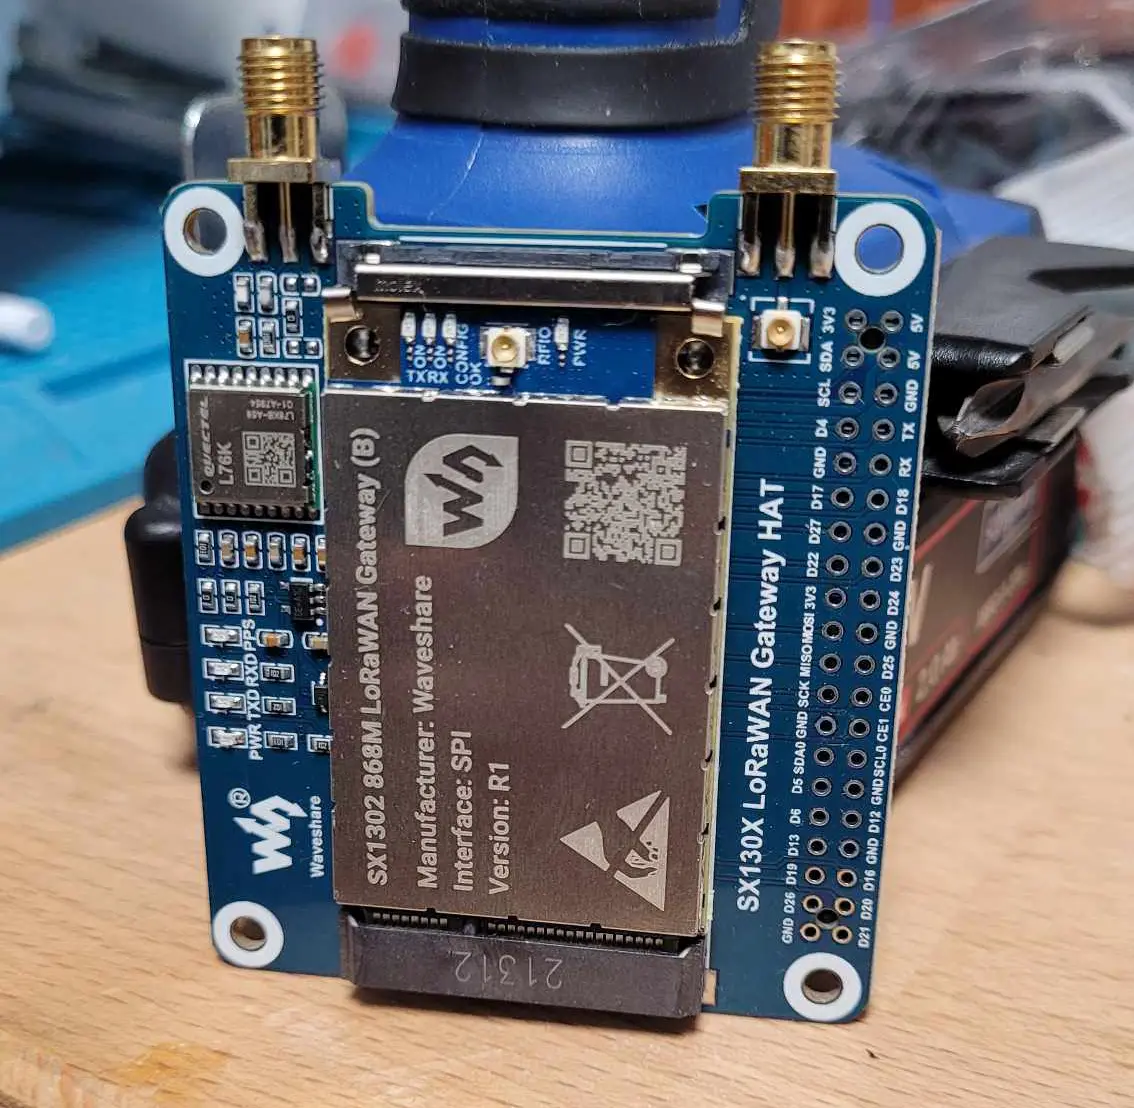
And I got the LoraWan part working and sending packets to my server, the Github repository provided in their Wiki is not really related to waveshare so you get the packet forwarder working, but not the GPS ! The GPS model L76K is not supported by default with the Github hosted packet forwarder, only Ublox models. And I would very much like to have it working. Strictly speaking the GPS is not needed, but I wanted 100% functionality. Don't get me wrong, the GPS it self works fine, I could get it show position and locks inside the Linux but the packet forwarder does not supports it.
While speaking about the SX1302 lets throw in some table explaining the difference between the chips.
Different chips
- SX1308: This is the lowest tier variant. It has the least sensitivity and maximum output power. It can still process 8 channels simultaneously like the rest and supports SF7 to SF12.
- SX1301: Designed to be at a higher tier than SX1308, this has greater sensitivity and maximum output power. It is meant for outdoor gateways to provide better range. This is the most used variant until now.
- SX1302: This variant is the successor to the SX1301. It offers lower current consumption, simplifying the thermal design of the concentrator, which leads to cost reduction. Additionally, it can handle more traffic as it operates at SF5 to SF12. It also has added features, like increased clock stability and dedicated precise timing features. It is starting to dominate the market and is utilized in gateways produced at present.
- SX1303: This variant features all the improvements of the SX1302, offering lower current consumption and heat production, but it also introduces an additional feature. The Fine Timestamp capability that enables Time Difference of Arrival (TDOA) network-based geolocation is now available for concentrator modules that utilize this Semtech chip.
So I would suggest something like RAK2287 (damn I'm linking so much RAK products I need to ask for sponsoring 😀), but if you want to use it with Raspberry Pi then shoot for the SPI with GPS version and compatible Pi HAT.
What does it do ?
So what is LoraWan Gateway for ? You can think of it as WiFi access point, its the point that receive the communication from your end devices, like sensors, GPS trackers, what ever. It does not do much else, just receive and translate the LoraWan communication to IPv4 UDP so it can be send via LAN or cellular network (depending how you connect it to normal network) to the LoraWan Gateway Bridge and further through ChirpStack.
You can have multiple LoraWan Gateways, and that's the usual norm in case of big area... and I mean big, with direct line of sight you can get around 15Km radius or even more ( I will test this ! ), but having multiple gateways have one major benefit and that's that based on the time and strength of signal received from sending device we can estimate it location even without GPS on the device.
So big plus is range and shear penetration of signal, for me 868Mhz since I'm in EU is the free to use frequency. Big minus is the amount of data we can shoot, you can literally think of it as sending the old SMS, no continues stream of data like video, no pictures or sounds... (you can encode picture / sound to text but oh boy are there limits... ) you are mostly limited to send small text messages. This is fine for sensors that reports few values once every 5 min, or trackers, but that's about it.
Connection
It just sandwiched on top of each other, Rpi4 + PoE Hat + LoraWan HAT however I made ribbon cable and move it bit separately, otherwise nothing special.
OS
I'm going with DiePi, I know this OS and have good experience all the time. It can be bootstrap from single file, so you boot it up for the first time and without touching single key it will setup it self, and install all what we need. It logs to RAM and run as minimal amount of services/processes as possible. We want to spare the USB as much of writes/reads as possible.
The Packet forwarder I'm going to use is running in Docker, so docker will be installed as well.
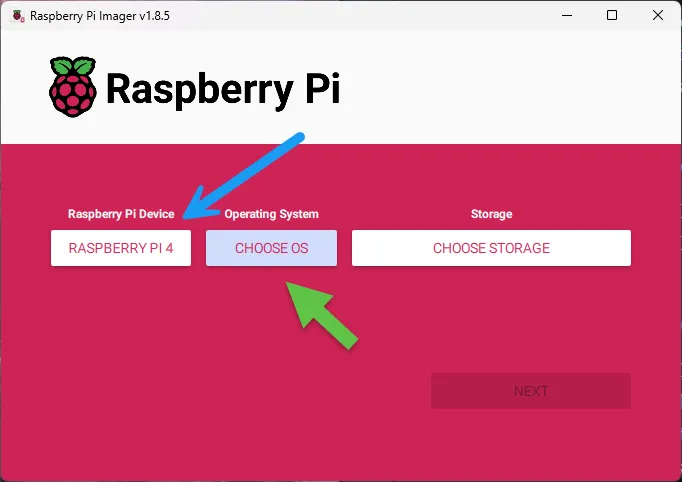
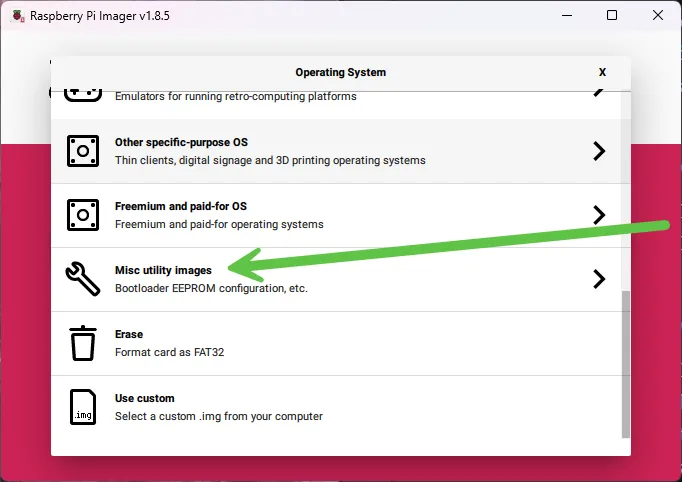
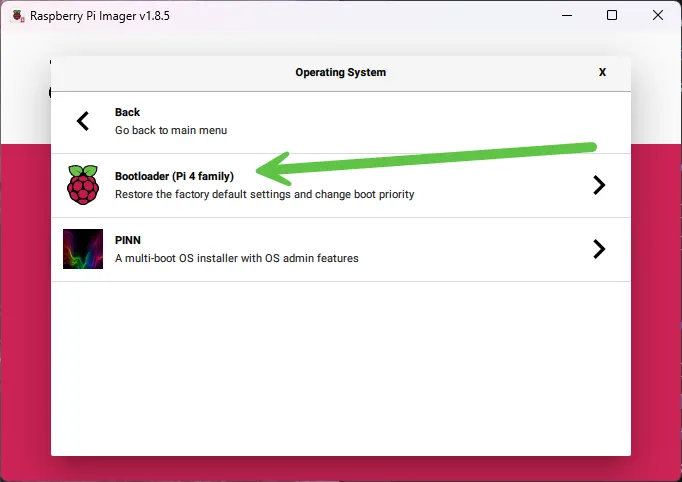
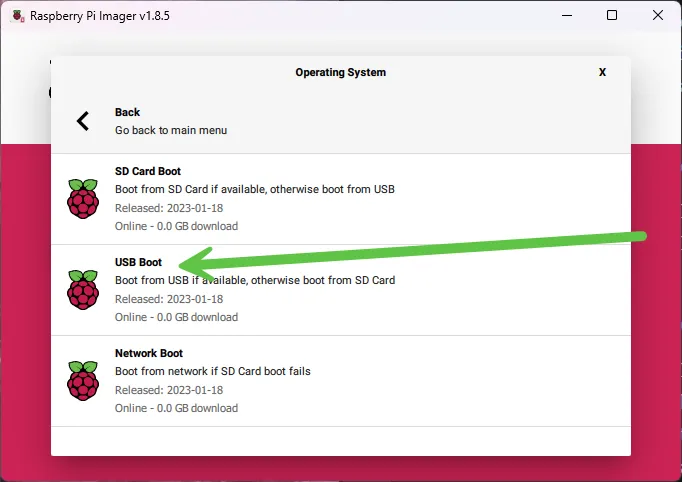
You just need to get the DiePi on its website and get balenaEtcher to get it on USB disk. You might want to flash your Pi4 to boot from USB before trying to boot the DietPi. You can do that by downloading Raspberry Pi Imager and flashing this to SD card.
You then add the SD card to Rpi4, turn on power and wait like 1 min just to be sure... green LED will blink. Then turn it off and its ready to dance.
Before we put USB with DietPi to the Rpi4, pop it back to PC and open the one partition you can. We need to replace two files in it.
- dietpi.txt - This one you might want to edit.
- Line 17: AUTO_SETUP_TIMEZONE - change to your Time Zone
- Line 31 - 35: Adjust for your network, IP, GW, DNS
- Line 41: AUTO_SETUP_NET_HOSTNAME - change to your proffered hostname
- Line 86: AUTO_SETUP_SSH_PUBKEY - add your ssh public key
- Line 125: AUTO_SETUP_GLOBAL_PASSWORD - add your password
- config.txt - Just replace yours, no need to edit, I turned SPI and other interfaces on, needed for the LoraWan HAT
- cmdline.txt - open the file and at the end of the first line add:
cgroup_enable=memory
# It will look something like this, do not replace it with this, since the PARTUUID will be different.

root=PARTUUID=f0cf2e93-02 rootfstype=ext4 rootwait net.ifnames=0 logo.nologo console=tty1 cgroup_enable=memory
That's it, plop the USB into Raspberry Pi and let it boot up, give it solid 30min to finish. It will setup everything related to OS. You can log in sooner, but you get message that the setup is still going on, just wait it out.