Windows 10
Booting Windows Installation from iPXE
This gave me so much trouble to figure it out, but it works. My issue in the end was finding out that WinPE "Windows Preinstallation Environment" (the component that in the end loads the setup.exe for installation) by default do not have many network drivers in it. So you get it to boot, but then you can't load the installation files from SAMBA share, it then proceeds to crash.
This is the flow:
Get Windows 10 ISO
I'm going for Windows 10 in this guide, but it should work the same way for other versions as well. Apart the very old ones.
You can download official ISO from Media Creation Tool or google Media Creation Tool for Windows 10. Click through the program and made it to save ISO file to your drive. Once done, rename it to something more simple like Windows10.iso
Get Wimboot
This is another step to load windows install environment. We will refer to this file soon, but if you want to have some more information, read here about what it can do.
Taken from their site:
On your Ubuntu PXE server:
cd /pxe-boot
wget https://github.com/ipxe/wimboot/releases/latest/download/wimboot
Create boot.wim file
Now the pain begins... some Windows black magic is required. Also, a Windows 10 PC on which you are going to do this. There is a very high chance that boot.wim file distributed on Windows 10 ISO does not have network drivers for the motherboard you're going to netboot on. But give it a try, skip this whole section and extract boot.wim from the ISO you downloaded before. It is located in: sources\boot.wim in the ISO. If the machine does boot up to a part where it should mount samba share, but it crashes... come back, and we need to create our own boot.wim file, with embedded drivers we need.
Creating custom boot.wim
I assume you are back here because the original boot.wim did not work. To be honest I have only seen it work on VMware virtual machines with e1000 network card and nothing else :)
So the task of the day is to create our own.
- Get Windows 10 PC you're going to do this on.
- Download network drivers for Windows10 for your motherboard / network card.
- Burn some incense praying candles and pray to the silicon gods. 🙂
You need to download and install two packages from Microsoft.
- ADK for Windows
- Win PE Optional Components for Windows ADK
Look HERE and scroll down for Download the Windows ADK for Windows 10, version 2004 download it. Then on the same page right under is Download the Windows PE add-on for the ADK, version 2004
I believe we can use the latest version of Windows 11 versions to install win 10 and lower, possibly. But I did not test it. If anybody had, please write me in comments below.
Install the ADK first, click next and leave all to default. Then install the Win PE, same as before... next, next, next and leave default everything.
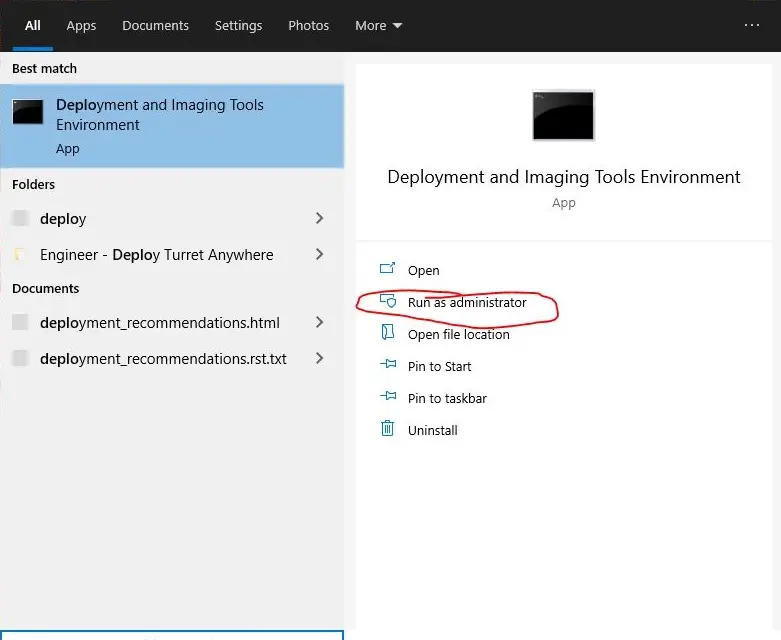
Deployment and Imaging Tools Environment
Click on start and begin typing Deployment and Imaging Tools Environment and run it as root.
It should open the console window already in C:\Program Files (x86)\Windows Kits\10\Assessment and Deployment Kit\Deployment Tools
Create a new folder on your C:\ drive called WinPE
Then run in the opened console following command.
copype amd64 C:\WinPEThis should generate a bunch of files in that folder.
Adding drivers
Create new folders.
C:\mount
C:\mount\drivers
C:\mount\BootWim
Copy the drivers you wish to inject into the C:\Mount\Drivers folder. It does not matter if they are in another subfolder in there, just make sure they are the .cat. .sys .inf variation... not the setup.exe that would not work. You can put as many as you want, if you're planing to use different hardware...
Copy C:\WinPE\media\sources\boot.wim to C:\mount
Here is example of how my folder structure looks like, with WinPE Network drivers I took from Asus NUC driver CD.
C:\
└─ mount\
├─ boot.wim
├─ BootWim\
└─ drivers\
└─ WinPE\
├─ 32\
│ ├─ rt640x86.cat
│ ├─ rt640x86.sys
│ └─ ws640x86.inf
└─ 64\
├─ rt640x64.cat
├─ rt640x64.sys
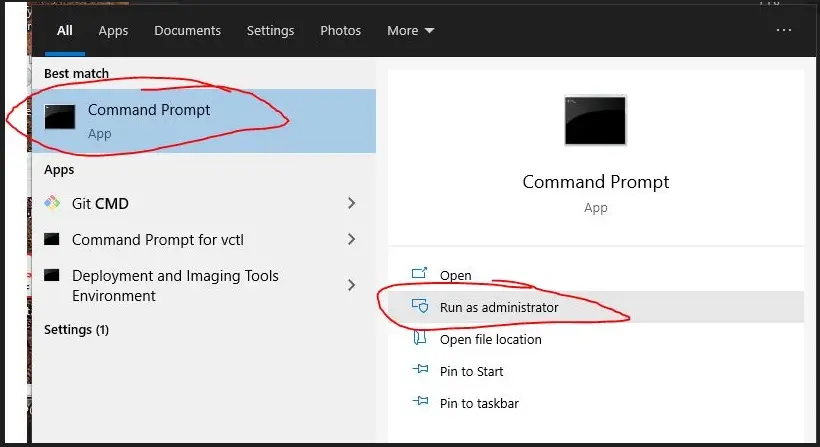
└─ ws640x64.infNext open CMD as Administrator.
Execute following commands
::Switch to C:\Mount
cd C:\mount
::Mount boot.wim to folder BootWim
DISM /Mount-Wim /WimFile:C:\mount\boot.wim /Index:1 /MountDir:C:\mount\BootWim
::Add the drivers
DISM /Image:C:\mount\BootWim /Add-Driver /Driver:C:\mount\drivers /recurse
::Commit the changes and umount the .wim file
DISM /Unmount-Wim /MountDir:C:\mount\BootWim /Commit
Link where I got how to add the drivers is HERE.
Back to PXE server
We are going back to our Ubuntu PXE server, and we need to take the modified C:\mount\boot.wim with us.
Copy the boot.wim into your /pxe-boot directory.
Your /pxe-boot should look like this as of now.
/pxe-boot
├─ boot.wim  # Our WinPE (Windows Preinstallation Environment)
├─ ipxe.efi  # UEFI ROM that is server first through PXE boot
├─ main.ipxe # Our main menu file
└─ wimboot   # Windows loader
Edit main.ipxe
We are going to change our main menu that iPXE will offer us to include Win10 install.
#!ipxe

set boot-url http://10.0.30.15

menu
item --gap -- ---------------- iPXE boot menu ----------------
item shell iPXE shell
item windows Win10 Install
item exit  Exit to BIOS

choose --default exit --timeout 10000 option && goto ${option}

:shell
shell

:windows
chain ${boot-url}/winboot.ipxe

:exit
exit
You can get very fancy with the menus, but this is the most basic stuff to get it to work, and you can build on it later on.
Maybe some explanation of the config file
set boot-url http://10.0.30.15- set will basically define variable. In our case we told iPXE thatboot-url(later in script called with${boot-ulr}) equalshttp://10.0.30.15which is my Ubuntu PXE server IP. Careful with slashes. Also, the variable persist between menu "files".menu and items- menu define start of menu, where we use item to define items of the menu… make sense, right.
item <menu> <label>. The menu name is referring to :<menu> later in the script.chain ${boot-url}/winboot.ipxe- chain will load next config file and execute it... this can be used to switch to another sub menu or so on, we will use it to separate our windows iPXE configuration.
winboot.ipxe
Since in our menu above it will load this file next. Let's create it.
Create file: /pxe-boot/winboot.ipxe
#!ipxe

kernel ${boot-url}/wimboot gui
initrd ${boot-url}/winpeshl.ini     winpeshl.ini
initrd ${boot-url}/install.bat      install.bat
initrd ${boot-url}/installs/windows/win10/boot/bcd         BCD
initrd ${boot-url}/installs/windows/win10/boot/boot.sdi    boot.sdi
initrd ${boot-url}/boot.wim boot.wim
#initrd ${boot-url}/installs/windows/win10/sources/boot.wim boot.wim

boot || goto failed
I know we just referenced a bunch of files we do not have yet. But we will setup them next. One thing to note, is that we basically load all of them via HTTP, if you followed this guide that's the Apache2 we setup before.
winpeshl.ini
winpeshl.ini is special file that when it's on the same folder as boot.wim (WinPE - Windows Preinstallation Environment) its "pulled in" and executed.
All we put in this file is:
  [LaunchApps]
  "install.bat"
Basically telling it, when you load your self, let's start install.bat
install.bat
Lunched by winpeshl.ini, it's a script for windows to tell WinPE to:
- Initialize network -
wpeinit - Load SAMBA share -
net use \\10.0.0.2\isos - Execute setup.exe -
\\10.0.0.2\isos\pxe-boot\installs\windows\win10\setup.exe
So the inside of the file looks like this:
wpeinit
net use \\10.0.0.2\isos
\\10.0.0.2\isos\pxe-boot\installs\windows\win10\setup.exeisos as a samba share. If you're sharing from PXE server itself, use its IP and directly share pxe-boot. It would look like this probably \\<IP>\\pxe-boot\installs\windows\win10\setup.exeInstall files / ISOs
I have created a folder structure in /pxe-boot to house my installation files and ISOs. For the purpose of this exercise, we need to extract Windows ISO files from Windows Install ISO we downloaded.
To understand what files are referenced in /pxe-boot/winboot.ipxe my folder structure looks like this.
/pxe-boot
└─ installs/
   ├─ linux/     #Prepareation for Linux
   └─ windows/
      └─ win10/  #Extracted ISO files here
         ├─ boot/
         ├─ efi/
         ├─ sources/
         ├─ autorun.inf
         ├─ bootmgr
         ├─ bootmgr.efi
         └─ setup.exe #We call this one in install.bat
We also refer to two files that come from the installation ISO in /pxe-boot/winboot.ipxe
- initrd ${boot-url}/installs/windows/win10/boot/bcd BCD
- initrd ${boot-url}/installs/windows/win10/boot/boot.sdi boot.sdi
These come with the boot CD.
Extract Win10 ISO
Copy your downloaded Windows 10 Install ISO to your Ubuntu PXE server.
Put it in /tmp (or some other place, but we will refer to it in /tmp/Windows.iso)
mkdir /mnt/iso
mount -o loop /tmp/Windows.iso /mnt/iso
mkdir -p /pxe-boot/installs/win10
cp -r /mnt/iso /pxe-boot/installs/win10
Done !
When you now boot via UEFI PXE boot, a menu with Windows Install should pop up. It will load wimboot loader, loads a bunch of stuff from HTTP. Hopefully starts WinPE (It looks like the initial installation screen of windows), then load SAMBA share with installation files and start the actual installation calling setup.exe. Pfew! I promise that for Linux, this is so much easier... !
we have the hardest and longest part behind us, you deserve a drink, and if you found this useful, help me to get one too. I would appreciate that a lot.